Automated turntable for Photogrammetry

The way I was capturing the photos when I started doing photogrammetry was by placing the object to photograph on a turntable in which I had placed marks every 10 degrees, Then for every photo I would rotate the turntable 20 degrees for example, Setup the camera, Take the Photo, Rotate the turntable another 20 degrees, etc. This would be 18 times per revolution and I had to do this 6 times at different heights. That ended up being 108 photos in which I manually rotated the turntable set up the camera, shot, etc.
It became obvious that I needed to find a way to speed up the workflow of acquiring the photographs.
Searching online for a solution I could not find anything that had the requirements that I wanted like support for heavy object or a person, Take photos per angle, etc. Then I came to an opensource project named photopizza by Vladimir Matiyasevith. It was perfect, It was DIY project which was excellent and was open source which meant that I could modify it as I needed. I had found the solution to my problem and started to gather information to build it.
After I had found enough information about what I needed, I started to order the components for the electronics, The hardware like ball bearing, screws, etc.
The first decision I had to make was what material to use for the table, At first I thought about using acrylic like the original design but it wasn’t really what I wanted. It was expensive to make on the places I found that could do the laser cutting, It was thin and I just didn’t like the look, So I choose oak wood which I could find near where I live.
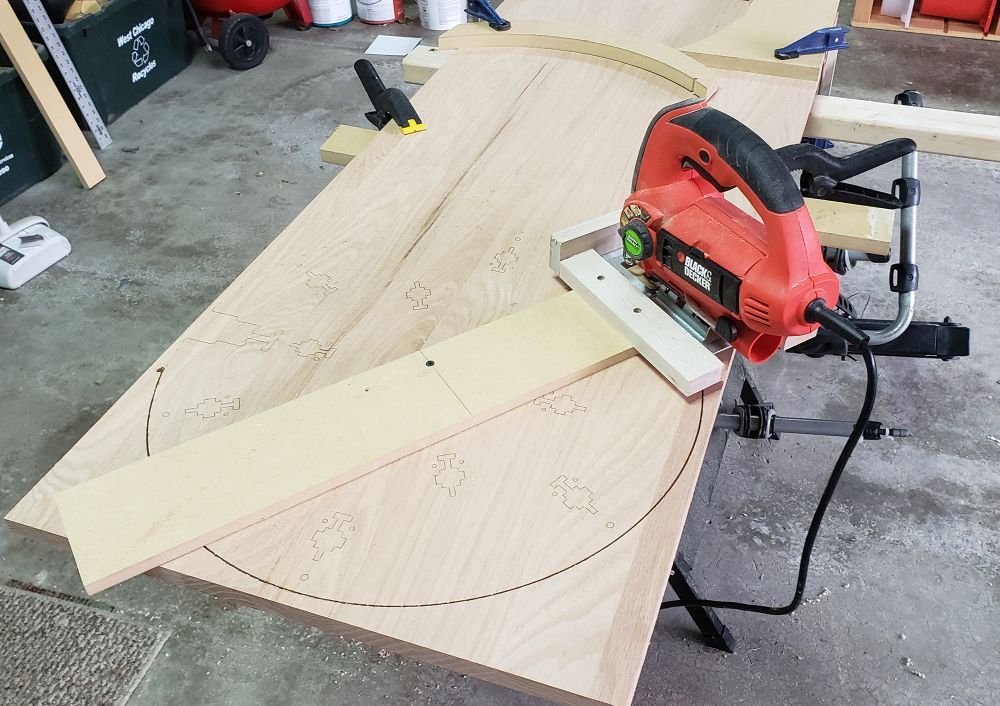
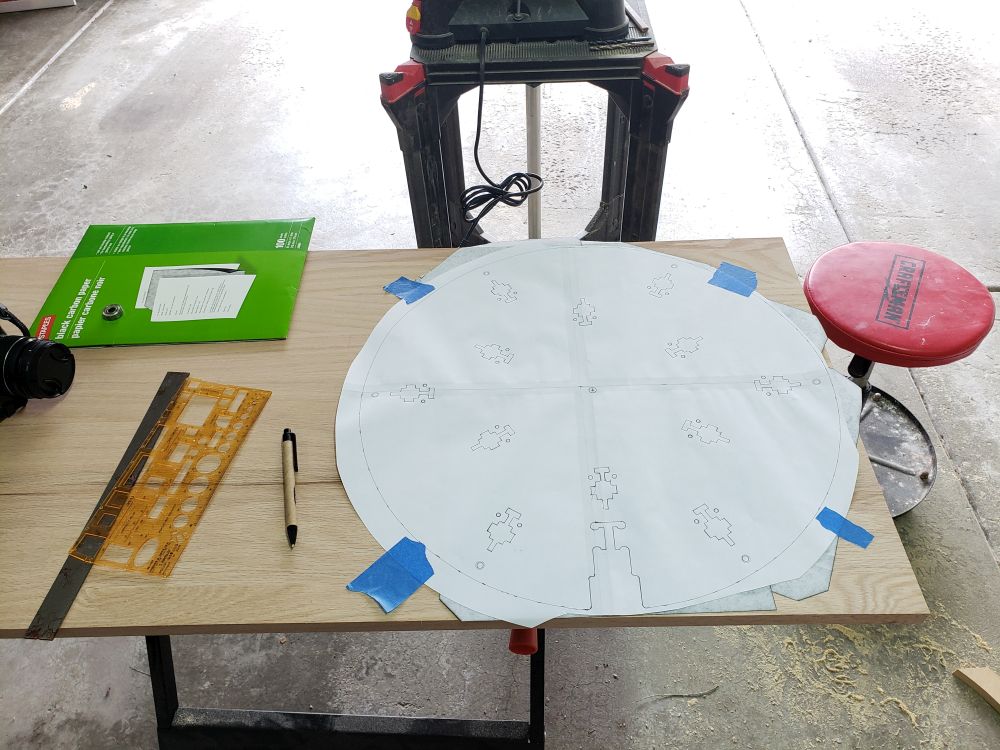
I modified the design a little to fit the wood that I was able to find and started to build it. This wasn’t really that hard, The only thing that I had to make a custom tool was to find a way cut the circles which ended working perfectly.
While researching about the photopizza I was at first happy to see that it was created in Arduino which i had worked with before, But by the time I decided to actually do the project it had changed to Espruino which is based on JavaScript. It had significant improvements that made it impossible for me to choose the Arduino version. While I new some other programming languages like C++, Python, Java, Objective-C, I didn’t know Javascript. (In theory you don’t need to know javascript to create this project) but since I wanted to make several changes I started to learn Javascript.
I had build some small Arduino projects before which helped a little on the electronics but this was a bit more complex for some one with no electronic experience, So I got to learn a little about that too. In the end it wasn’t so bad, And what I learned on this project I have used on some other things so it was time well spend.


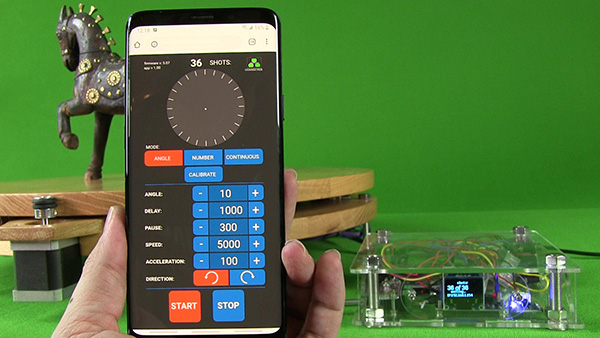
Now that I had it running with the original firmware was time to start to mess with the code, It took me some time to understand how it worked, I basically started from zero and started to add the code from the original source to get an idea of how and why things worked that way. Overall the code that make things work is the same as the original, Maybe a few things changed but were I made the most changes was on the interface and the web interface.
Here is a short demo of the turntable.

There are a few bugs that i need to fix on the code, After I do that I will release the code in case some one wants to build one and use the changes i made.


Leave a reply